I’ve now connected the long battery cable that runs to an Anderson connector near the back door, with a couple of tap points on it. As I didn’t want to cut and join the cable (there’ll be enough drop anyway at that length), I tapped it with blocks of brass drilled to fit and clamp around it.
Here’s the connector block near the middle of the vehicle (just above the damper of the middle axle); this will take the link from the auxiliary (camping) battery.

Forward tap on the long power cable
It’s bolted to the bodywork with a screw recessed into a cylinder of Delrin, and there’s a block of Tufnol between that and the brass block, to make sure positive and negative stay apart. I’ll add a sheet of rubber between the box and the bodywork, too, in case of cracking.
Inside the `toolbox’ compartment at the back is another connector, fitted just in case it comes in useful later rather than for a specific purpose — it would be much harder to add later. As the cable is on the `battery’ side of the main isolator switch (for a little added security — it can’t be used to bypass the isolator), I could use it for maintenance lights, a clock etc.
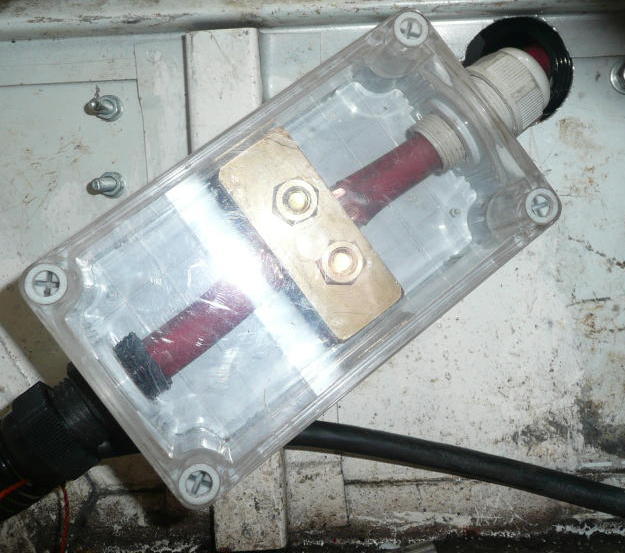
Rear tap, in case with clear lid
After this, the cable runs on to an Anderson SB175 power connector, for jumpstarting at the rear, running a towball winch, charging phones, or whatever else comes in useful.
